Video Profiles - Create and Edit
Learn how to create video profiles and set your embedding with HD videos
Creating Video Profiles
To create video profile you would need to log into your Ziggeo account. Once you do, you would select the application you want to set up with the video profile.
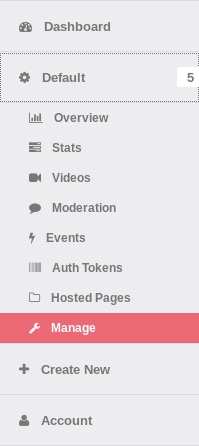
When you click on that application you will see the list of sub menus shown, and of interest to us is Manage option and its Video Profiles section.
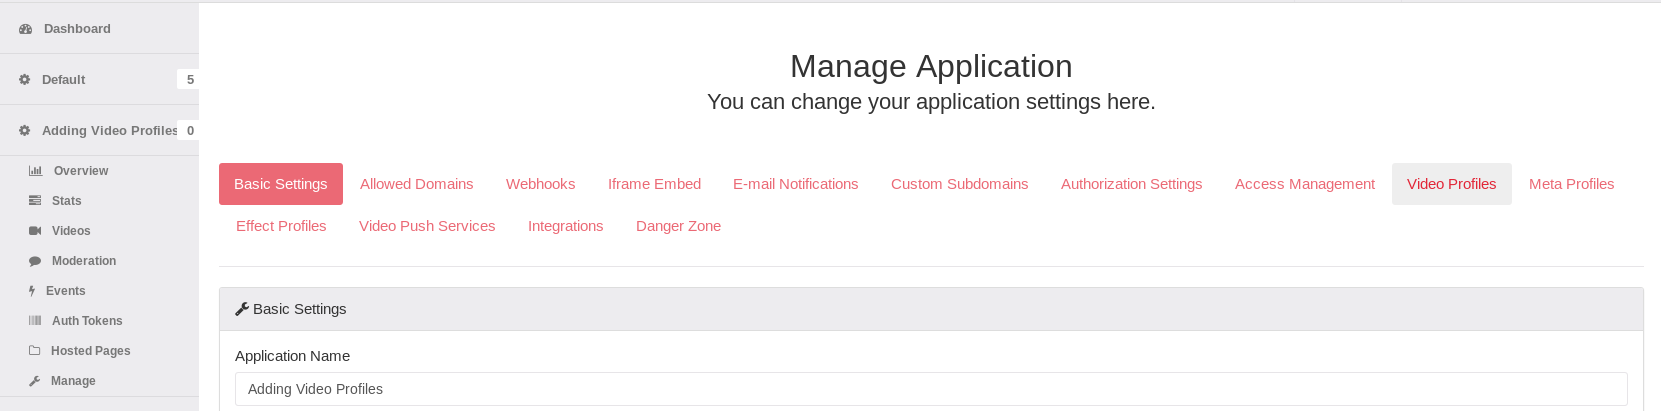
As you are shown the Manage page, you can see the segment entitled as "Video Profiles"
On the left part you can see the key name, and that it is option.
If you leave it empty our system will create a video profile token that can be used to specify in your embedding which video profile you want to be associated with your recording / playback (if you do not specify any default one will still be used to transcode the videos to).
Now, if we specify key, in our embedding we would use the same however with underscore as prefix, meaning that "our_key" would be used in embedding as "_our_key".
If we do not specify the key, token is used without any prefixes.
Benefit of key is that you can know exactly what it will do by looking at the embedding - however so can anyone else that is checking out your embedding codes, while the token is just like video and application token - something that is not as easy to understand what it represents.
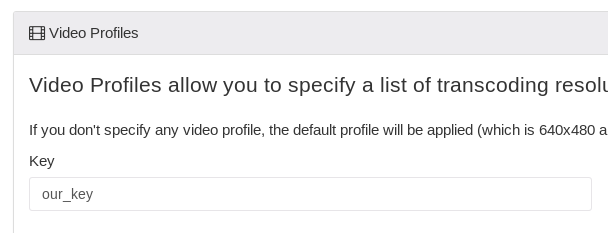
On the right side you will see "title" field. This is something you can only see in the administration panel, which means that you can name it anything you want and no one would know. That way if you have 10 video profiles using tokens, you can right away tell what they are for.
We recommend using some description such as "HD Video Profiles" or "4:3" video profile, etc. as long as it allows you to quickly tell what it does
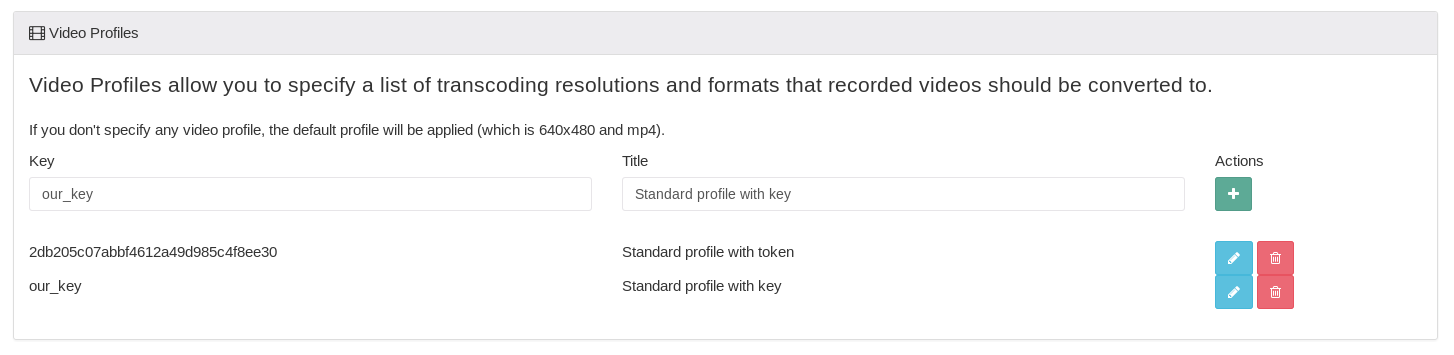
2 profiles have been created - one with a token "2db205c07abbf4612a49d985c4f8ee30" and once with a key "our_key"
Creating Video Profile Processes
Once the video profile has been added we did part of the process. We have our token or key and its title, however now we want to specify what the profile is really about.
To do that we click on the blue button with a pencil, to edit the existing video profile which will open a segment that we are after.
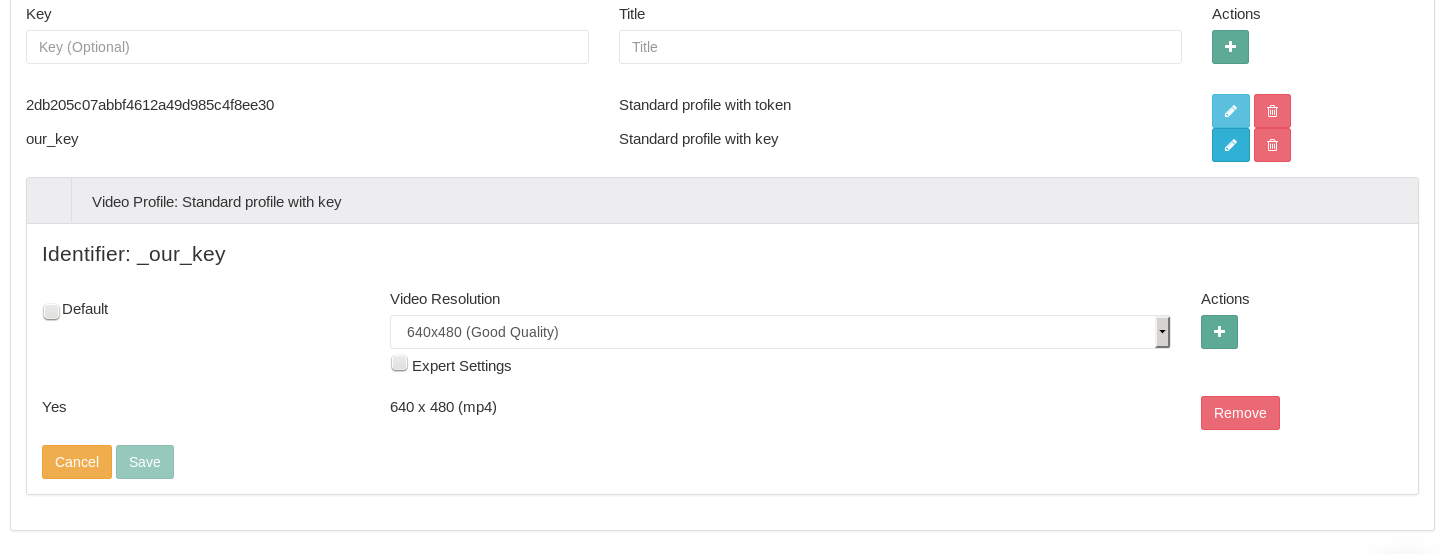
There are few key points to mention:
- Identifier: _our_key
- It tells us what we should use in our embedding. So this means that "_our_key" is the value we are after.
- Default (checkbox)
- This tells our system that this process should be the one used for default stream when we use this profile - keep in mind that our default one is 640x480 SD so this will change it to what you like.
- Video Resolution (dropdown / select box)
- This allows us to select what resolution we want to use for this video profile
- Expert Settings
- This is where the power of Ziggeo comes into play. While default settings will work just right, if you like to change things around and have everything run as you like it, this is the one you should use.
- As it is a bit more complex, we will dedicate a segment for it at the bottom.
Now once you make all adjustments that you like, just click on the button with white plus to add the process and then click on the Save button for the video profile to be saved completely.
Expert Settings
Expert settings are in part explained on our features page here and we will be looking at the same and try to go more in depth of the same.
Normalize Audio
- There is a features page about audio normalization feature that can give you some insight and lets try to summarize it here. Do you like watching a silent movie which is followed by a laud one? What if you have headphones? Well most people do not, so audio normalization will set all videos to a volume that is considered as best to listen to, and looking at 10 videos one after another literally sounds great.
Ratio Strategy
- It offers fixed, shrink and stretch options.
- They are strategies that you can use to specify how the target (your encoded video stream) will be processed based on the ratio of the original stream (source).
- fixed - the aspect ratio of the video recording we get (source) will be changed to match the resolution you have selected for your stream (target)
- shrink - The aspect ratio of the video recording we get (source) will be kept while we will reduce one of the dimensions of the target resolution.
- stretch - The aspect ratio of the video recording we get (source) will be kept while we will increase one of the dimensions of the target resolution.
Lets check out an example:
target - 640x480 SD
source - 300x240 SD
fixed > 300x240 is turned into 640x480 (depending on other options, it could be distorted, or cut)
shrink > 300x240 is turned into 600x480 (one size is shrunk to keep aspect ratio)
stretch > 300x240 is turned into 640x512
Size Strategy
- it offers keep, shrink and stretch strategies
- They are strategies that you can use to specify how the size of source video (the one we get) is impacting the video that we will encode to (target)
- keep - it set the target to keep its size. So if our profile is 640x480, this tells it to keep its size as is.
- shrink - it tells that encoded video should be of lower resolutions if the source (the video we got) is of smaller resolution than the target video (encoding) to which we want to go to. In layman terms, do not enlarge small videos
- stretch - it tells that the encoded video (target) should be larger than what we set if the original recording (source) is of higher resolution. Again going to layman terms, it means that larger videos should not be shrunk.
Lets check out an example:
target - 640x480 SD
source - 300x240 SD
keep > 300x240 is turned into 640x480
shrink > 300x240 is turned into 300x240
stretch > 300x240 is turned into 640x480
Shrink Strategy
- it offers shrink-pad, crop and shrink-crop strategies
- They are strategies that will help you set up what should happen if we get a large video (source) and our profile (target) is set for lower resolution.
- shrink-pad - It will shrink the source video (the one we got) until it matches one of the dimensions of our target (the profile set resolution) and if needed it will add padding to the other dimension.
- crop - It will just trim away all parts of video that are larger than given (target) resolution
- shrink-crop - It will shrink the video to given resolution and crop out any parts that are going out of set bounds.
Lets check out an example:
target - 640x480 SD
source - 1280x900 HD
shrink-pad > 1280x900 is turned into 640x480 (with padding at the top and bottom 30px each)
crop > 1280x900 is turned into 640x480 (however not entire content from video is left)
shrink-crop > 1280x900 is turned into 640x480 (with 80px cropped on left and right, 40px on each side)
Stretch Strategy
- It offers pad, stretch-pad and stretch-crop strategies
- They are strategies that will help you set up what should happen when a video (source) of small size is matched against the video profile of larger size (target) which would mean that video should be increase to match it.
- pad - it will leave your video as it is and pad the rest of the video
- stretch-pad - It will stretch the dimensions of video we got (source) to match one of the dimensions of our video profile dimensions (target) and padd the other dimension
- stretch-crop - It will stretch the dimensions of the video we got (source) to match of of the dimensions of our video profile (target) - smaller one - and it will cut the larger one.
Lets check out an example:
target - 640x480 SD
source - 300x240 SD
pad > 300x240 is turned into 640x480 (leaves video at 300x240 and adds padding on all sides to match resolution)
stretch-pad > 300x240 is turned into 640x480 (by padding the width for additional 40px)
stretch-crop > 300x240 is turned into 640x480 (by cutting the 32px from top and bottom)
Mixed Strategy
- It offers shrink-pad, stretch-crop, crop-pad strategies
- They are strategies that will help you set up what should happen when source video (the one we got) has one dimension larger and another smaller than our video profile (target)
- shrink-pad - It will shrink the source video to fit and then pad where needed to match the expected resolution (target)
- stretch-crop - It will stretch to fit one dimensions and crop the other.
- crop-pad - it will crop one dimension and pad the other
Lets check out an example:
target - 640x480 SD
source - 800x400 SD
shrink-pad > 800x400 is turned into 640x480 (where 800 is shrunk to 640 and 480 is padded by 160)
stretch-crop > 800x400 is turned into 640x480 (where 400 is stretched to 480 and 800 is cut to 640)
crop-pad > 800x400 is turned into 640x480 (where 800 is cut to 640 and 400 is padded by 80)
Now a thing to note is that each strategy is used in a combination with another. The best way to know what should be used is to know what you want to get at the end. Once you do, it is easy to set all strategies for the best outcome.
In the light of the same, please do consider that examples are made just to simply describe what happens, and that depending on the