Dropbox integration
How to set up Dropbox integration
Setting up Dropbox integration
We made the process of setting up Dropbox integration to be very simple.
The way you would do it is by:
- Logging into your Ziggeo account
- Click on the application you want to connect to your Dropbox account
- Clicking on the sub menu named Manage
- Now click on Integrations section
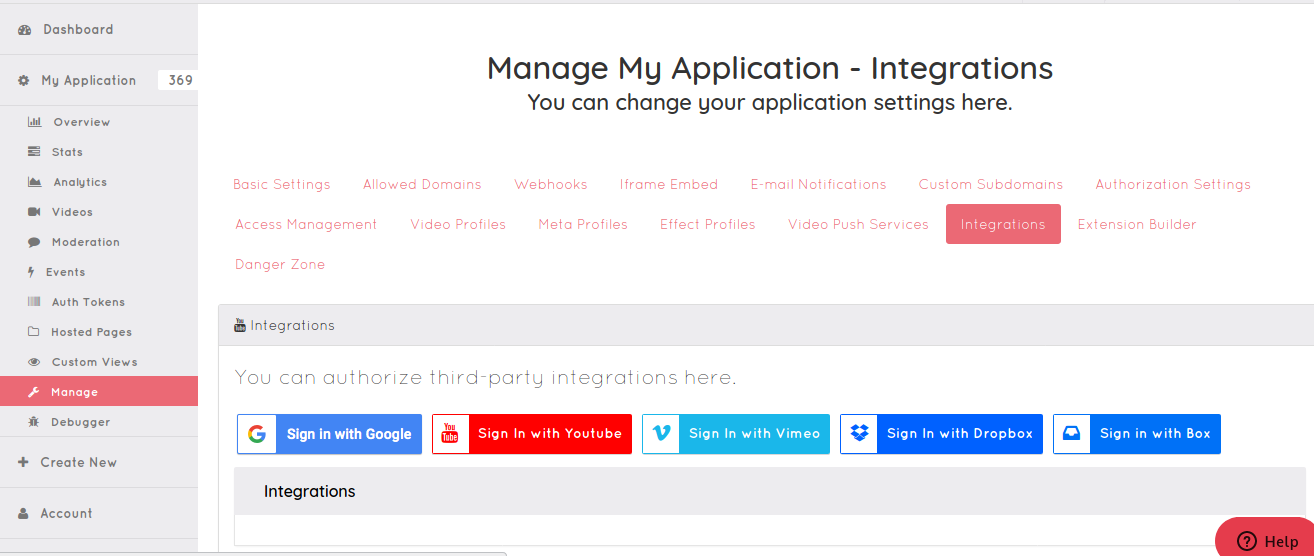
Here you would click on Sign in with Dropbox button.
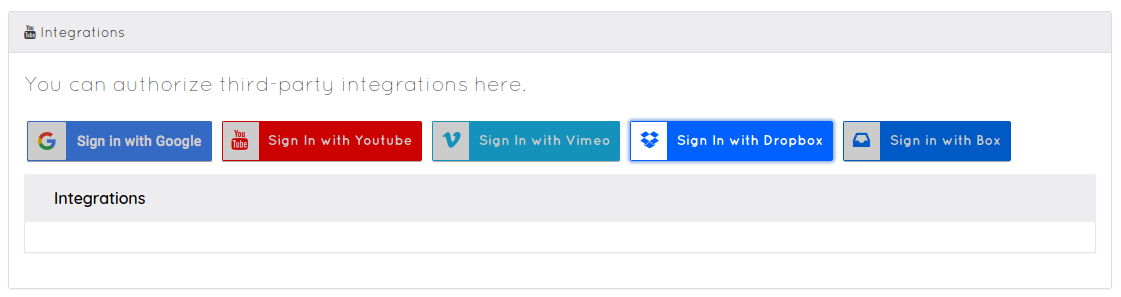
The next step is to just make the integration authorized.
Authorization steps are done by a third party, in this case Dropbox. As such it is possible that slight or big changes are made to their design or information they present at any point in time and without us knowing.
Even if this was to happen the steps should be very similar to what is described here.
You will immediately notice that there are 2 tabs, one in our dashboard to add integration and another on Dropbox. You need to go through steps on Dropbox system to be able to get the auth token you would then add to this tab in your Ziggeo dashboard.
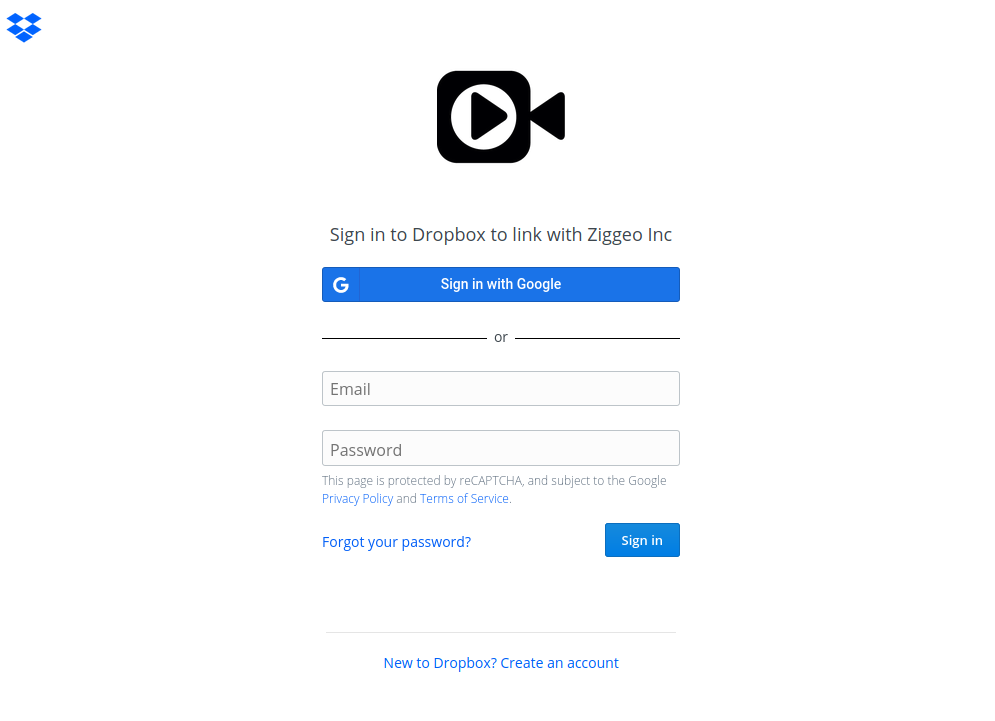
First, you will need to sign into Dropbox if you have not been signed in already. If you did, you will pass by this screen and directly go to next one instead.
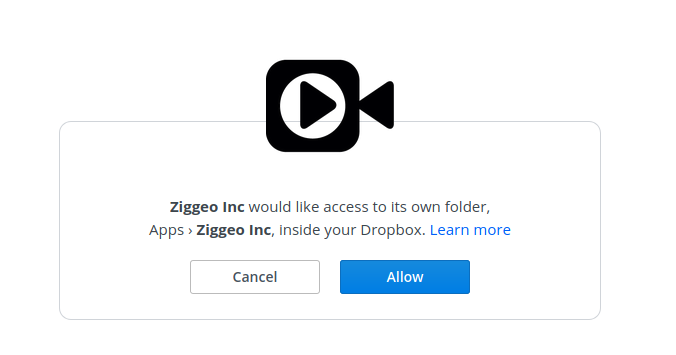
The next step is to see what the integration entails and then to grant access to Ziggeo.
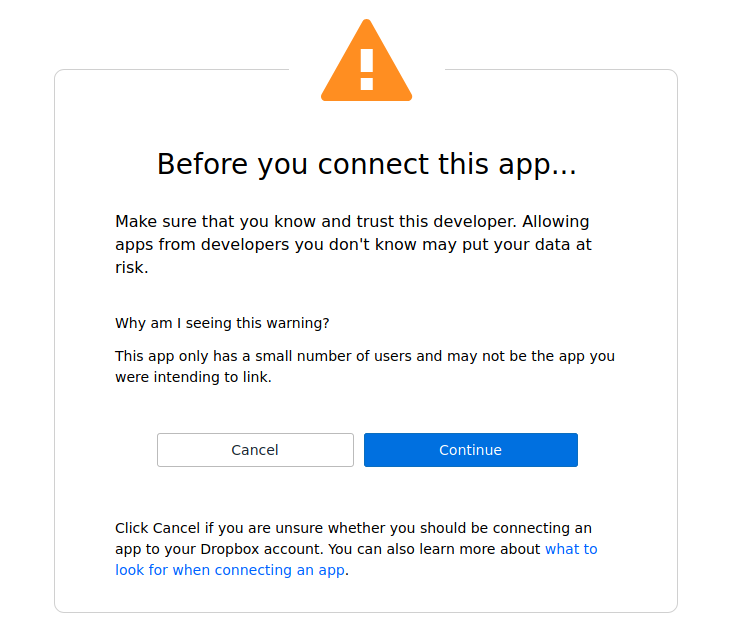
Once authorized Dropbox will ask you to confirm that you want to share access to the folder.
Once you confirm, there is just one more step on Dropbox. This step is to copy the auth token that you are shown.

All of the steps on Dropbox side are done, now to finish it in your Ziggeo dashboard.
Leave the page with Dropbox auth token open. This might be useful if you are following step by step this guide and it takes you a bit more time (tokens are time sensitive).
Still take as much time as you need to do this, you can always just refresh the page with Dropbox token and it will provide you with a new auth token.
Paste the token in your Ziggeo Dashboard and click on Validate button.
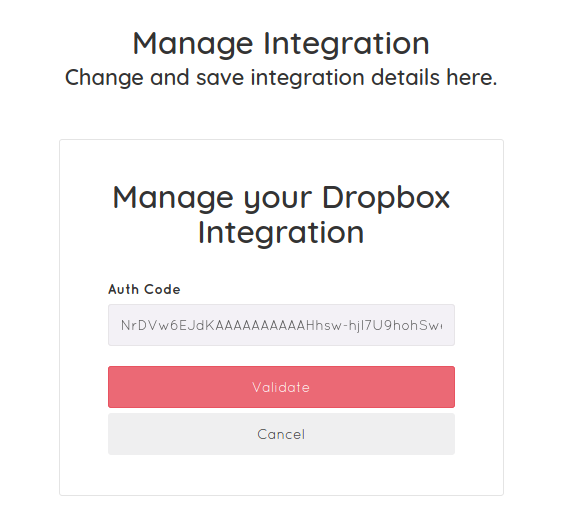
- If there is an error, just refresh the page on Dropbox where it shows you token. Confirm that you want to refresh and copy the new token. After adding it into this box, click on Validate again.
This next screen will help you set up the name for your new integration so that you can easily recognize it later.
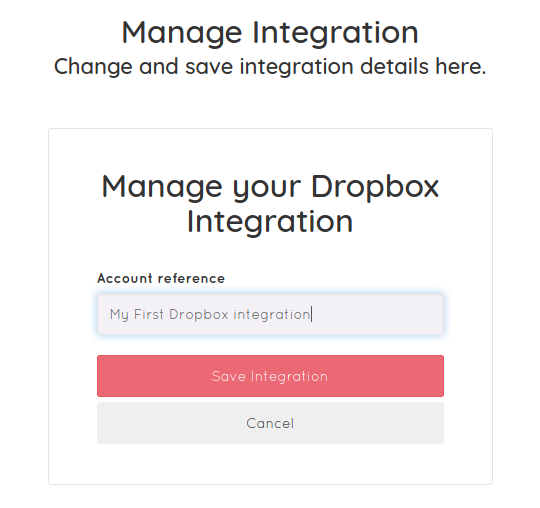
Since sometimes our customers create multiple integrations same services, we do always suggest to make names that:
- Allow you to immediately recognize the integration
- Allows others in your team to recognize it quickly as well
Set up autopush for Dropbox
Our autopush setup is made to be as similar to one another as possible. This makes it very easy for you to add push setups for different integrations.
The first step is to select Dropbox Push from the Type dropdown. This will then load all of your Dropbox integrations on the right side.
- If you have a large number of Dropbox integrations this can take few seconds to list, so just wait a moment to see the dropdown to select from.
While you wait, under the Type dropdown you will see the field Title. Add the title that can help you recognize this push service later on.
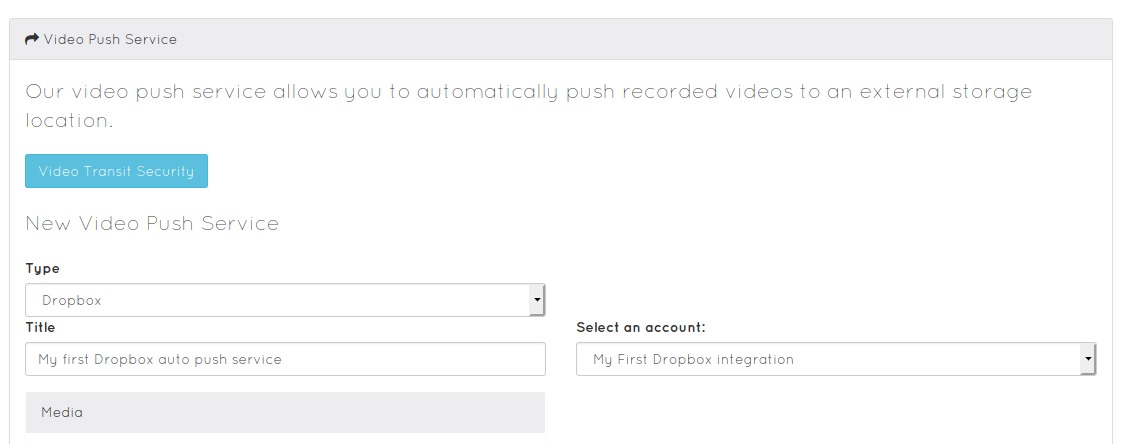
Once you see it, select the one you want to use in the dropdown.
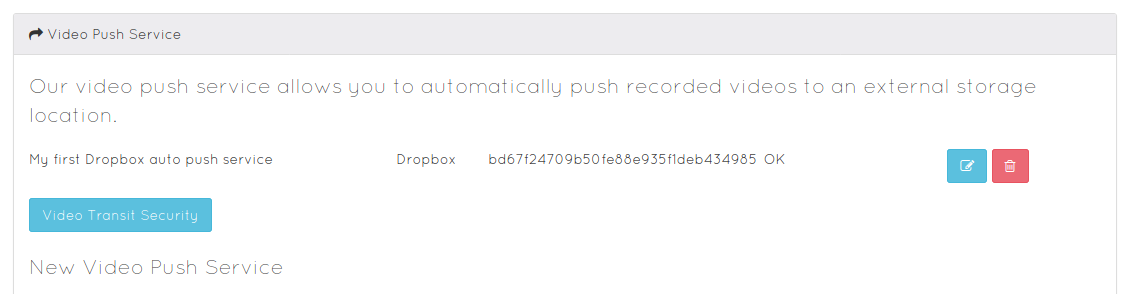
That is it with the setup specific to the Dropbox integration. If you click on "Save Push Service" now, you will be using the recommended defaults.
If you want to fine tune your push service or interested in more details we have prepared more. We have described this is more detail on the following page.