Creating Your Zap
You will see how to create your Zap (automation) with ease
Creating your Ziggeo zap
All zaps are built in a similar manner, however that first one is the one that makes us ponder the most. Here we however break it all down to very few and very simple steps that you can use to create your own customization. If you have not already, please first check this page to see how to connect your Ziggeo application to your Zapier account. We will start with the triggers in Ziggeo app and then go to actions in Ziggeo app.
Triggers
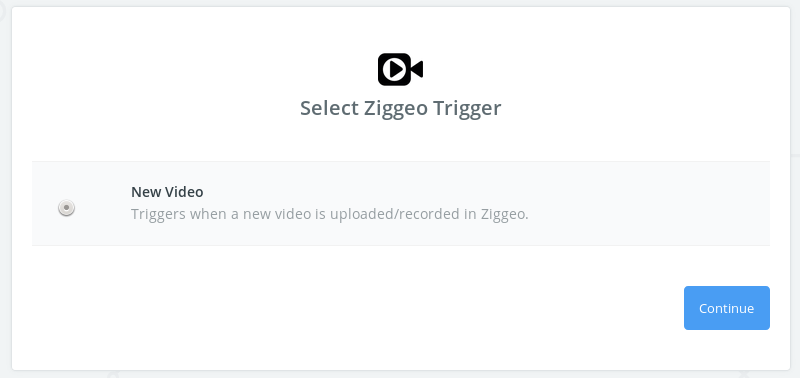
At this time we have just one trigger - when new video is added, however we will be adding more based on your requests, so if you have any - send them our way
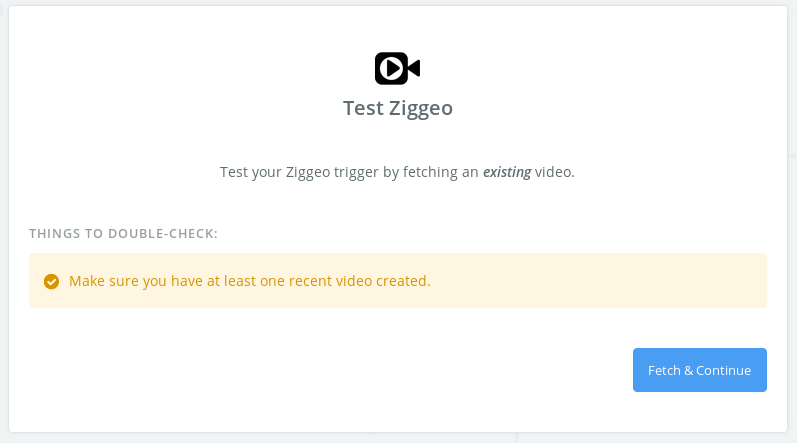
Once trigger is selected, you will be shown a warning to make sure that you already have at least one video within your account that can be used as a reference through your setup.
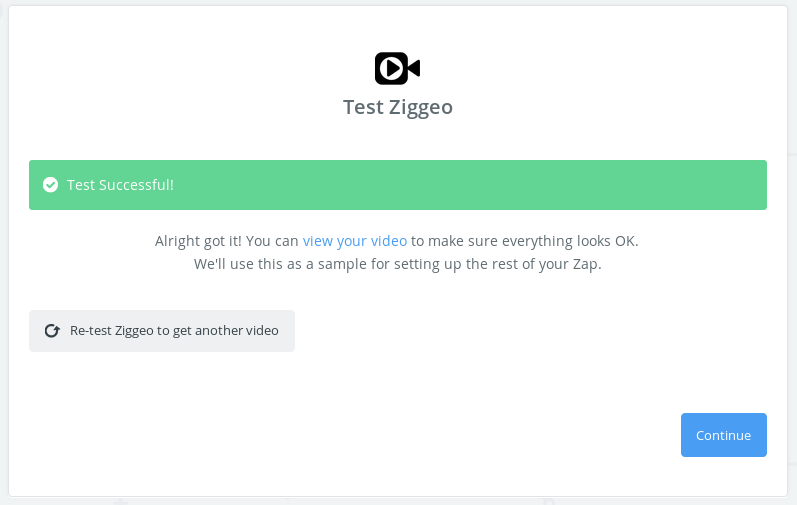
Great! Your trigger was successfully tested and all is looking good. You can proceed.
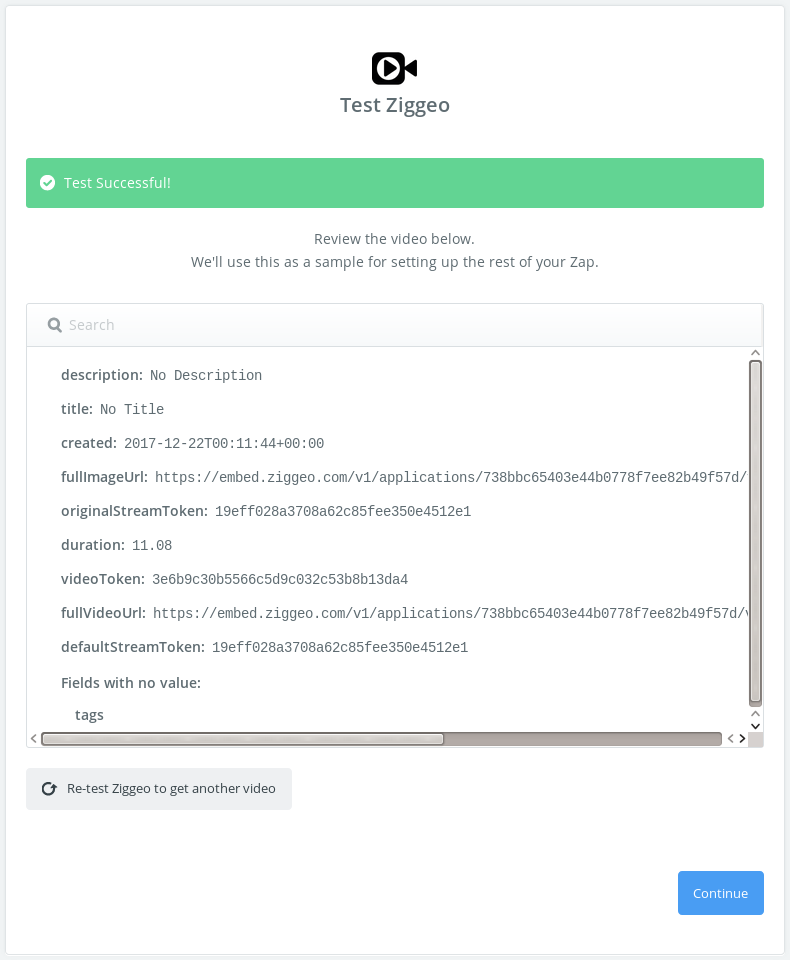
Feel free to inspect what kind of data is sent your way within the trigger.
- The data shown above is likely going to be different to what you actually see as some details are date specific, unique in our system or the data we send back gets larger.
Actions
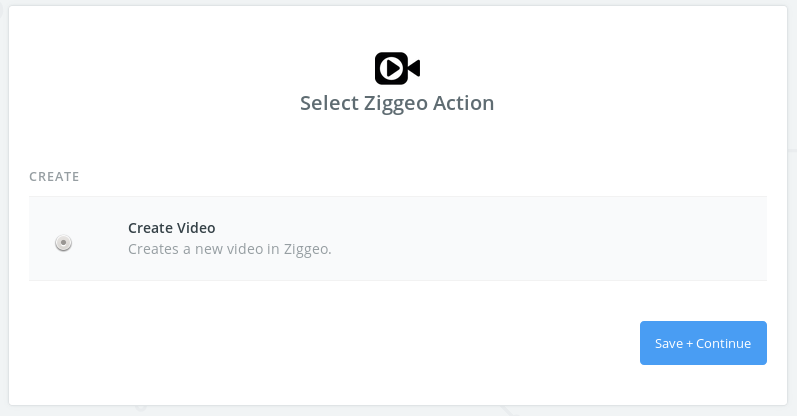
As triggers, only one for starters, lets get in touch for adding more.
Action form (unchanged)
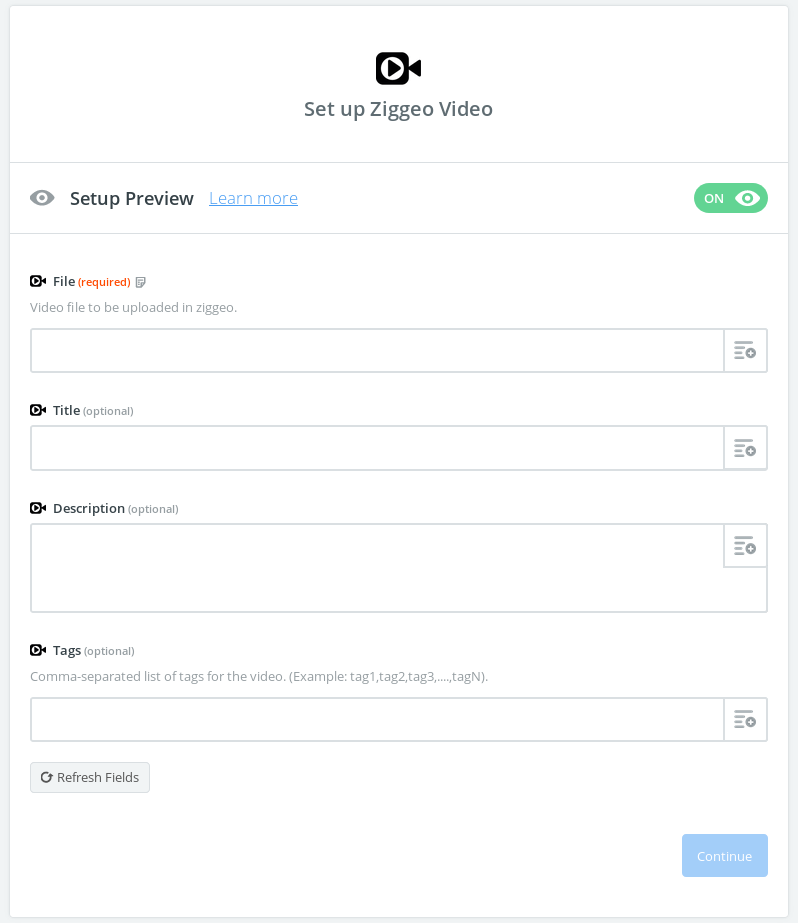
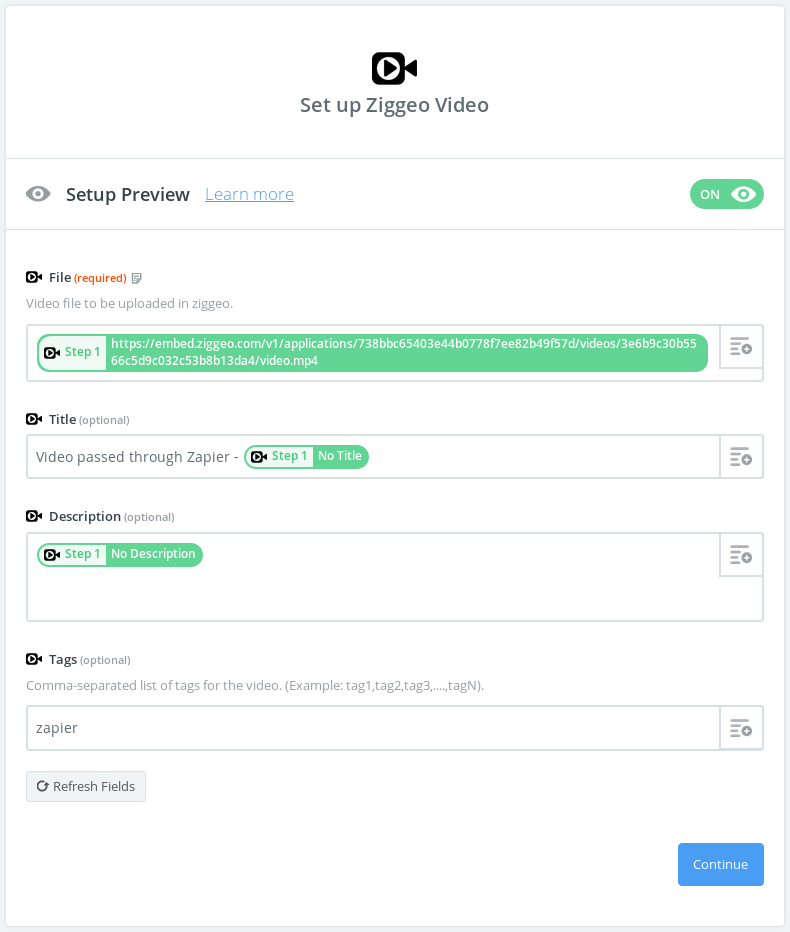
Once filled out with the data that you want to send over, it is very easy to click through the rest of screens.
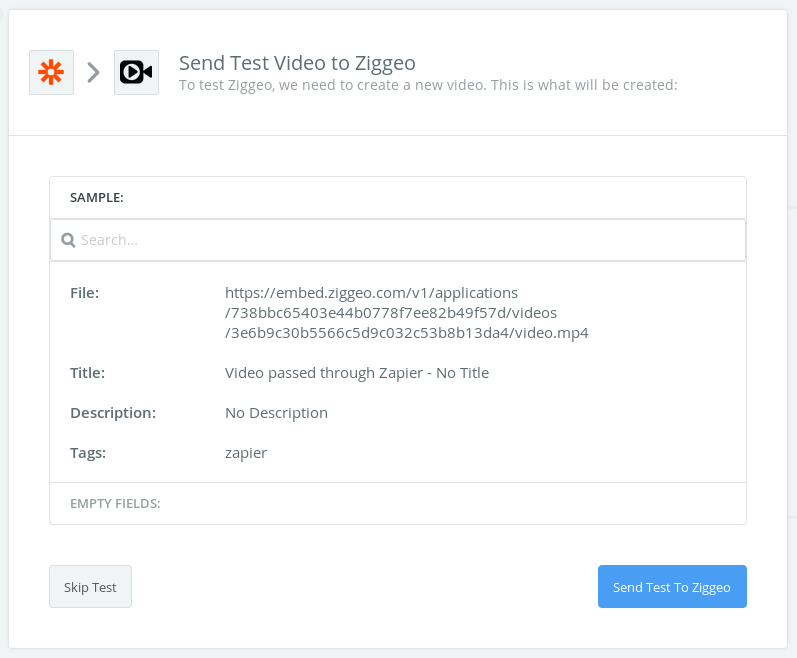
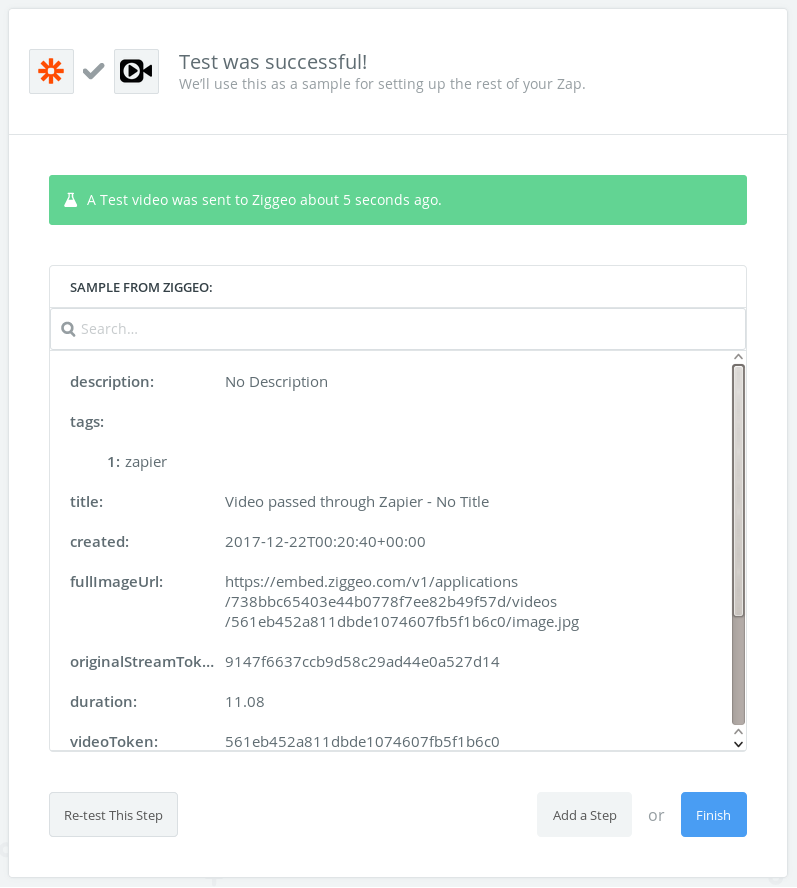
We can see a quick overview of what we have added on the form and we are ready to test it out.
Setup we just made worked, the test confirms that the automation can run easily for us. All that is left is to activate the zap.
Final steps
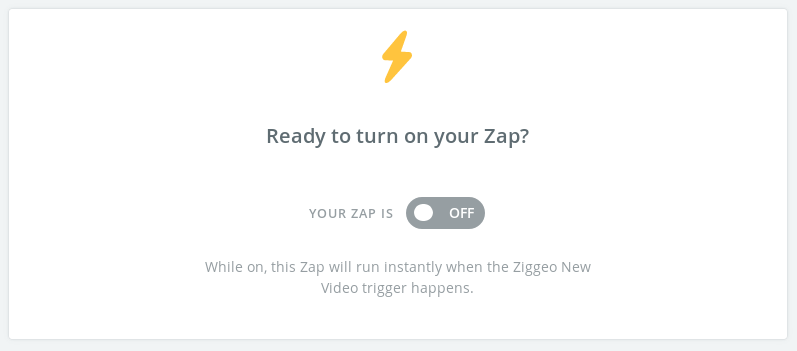
Click to activate the zap and that is it!
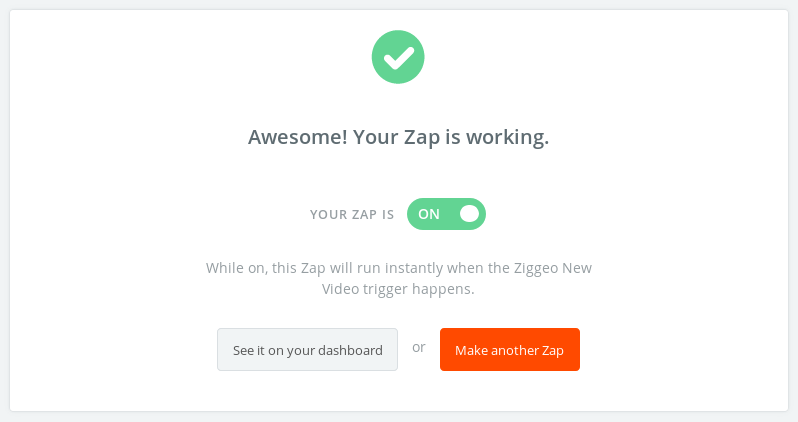
Nice! You did it - time for a beer.